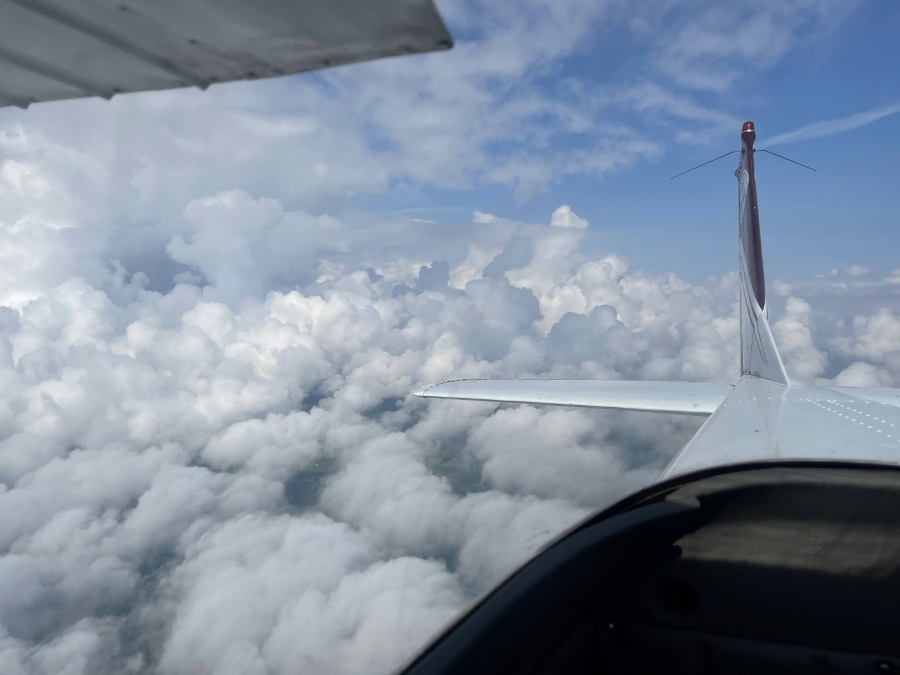
Another day driving into dark clouds expecting to do ground school took a turn for the better as the clouds broke and blue skies peeked through the closer I got to the airfield.
My instructor briefed that this lesson was going to be about climbing and descending, but as the first flight of the day we were going to do the external checks of the aircraft, which I’d not done before.
We ran through the ‘External’ page of the checklists booklet, looking at the condition of the wing struts, control surfaces, leading edges, lights, tyres, hydraulic lines, engine oil, wings and drained off some fuel from each wing tank to ensure there was no sediment nor any water in it. We also checked the fuel level matched the gauges inside with a very special aviation device: a wooden spoon!
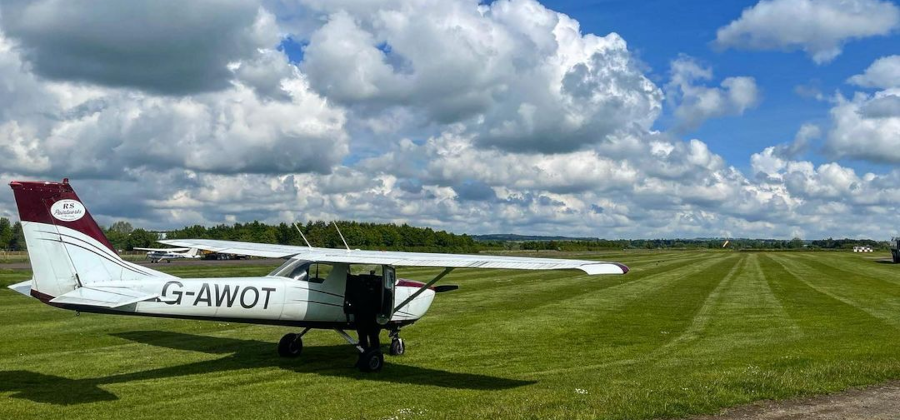
We jumped into the aircraft, started the engine, ran the ROSAMS (see Lesson 1) and taxi checklists, radioed our intentions to backtrack runway 01 and do a run-up test at holding point Bravo. Once that was all done, I turned the aircraft so we could see the approach path for runway 01 and I made a radio call. “Golf-Alpha-Whisky-Oscar-Tango, lining up for departure runway 01.”
I didn’t know it at the time but it would be one of the last times that G-AWOT prepared to head into the sky.
Crosswind Take Off
My last two take offs were extreme opposites of each other. Lesson 2 had a terrifying take off event, while Lesson 3 was crisp and comfortable. It felt like a coin toss which one this would be.
One new factor to today’s take off was that we intentionally chose the wrong runway to take off from.
Wait, what?
Winds were coming from the east which favoured a take off from runway 08 (80-ish degrees on the compass heading), but not every airport has crossing runways so cross-wind takeoffs are unavoidable and today we would practice doing exactly that.
To perform a crosswind takeoff in a Cessna you want to counter-act the fact that one of your wings will be getting more airflow over it than the other, i.e. the up-wind wing, to do this you simply turn your control yoke towards the wind, this tilts the ailerons on the upwind side up, holding that wing down.
I say ‘simply’, but I found this very unintuitive, unable to convince my hands to turn the controls more than 15-20 degrees, expecting the small plane to dip a wing into the ground and my instructor and I to become front page news. I focused too much on a problem that didn’t exist that I forgot to run my ATR check, but my ever-professional Flight Instructor (FI) read out the checks for me.
I realised then that I needed to trust the instruction.
We lifted off, not as smoothly as last time but under a lot more control than the first time I’d taken this stunning red-nosed little beauty into the skies. I pointed that very nose slightly towards the wind to maintain runway track. At 300ft above the ground, I checked we were above 65 knots airspeed and not descending (the golden rules for raising the flaps) and counter-acted the reduced lift and resulting nose-down pitch with a bit of extra back-pressure on the controls.
Turn around, bright eyes
At 500ft, I made a left-hand rate-1 turn onto the crosswind leg of the circuit. When climbing, descending, or manoeuvring with flaps out, you typically only tilt the wings up to 15 degrees of bank, also known as a rate-1 (or ‘standard’) turn. A rate 2 turn is a 30 degree bank turn, which is common when flying level and with a clean (i.e. no flaps) wing.
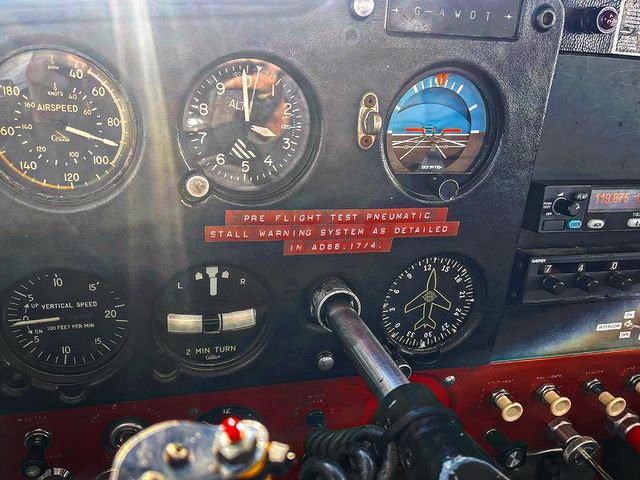
There is another instrument in the ‘six pack’ that helps with turns, that’s the Turn Coordinator.

The turn coordinator helps you make ‘standard’ turns – which turn the aircraft at 3 degrees per second on the compass, that means a full 360 degree turn is made in 2 minutes (hence the ‘2 MIN.’ at the bottom). If you found yourself flying into cloud with a broken Direction Indicator (DI) and an inaccurate magnetic compass, you could use the turn coordinator to perform a 1 minute standard-rate turn (i.e. 180 degrees) then level your wings and you should fly back out of the cloud. In theory. (Also, don’t take off with a dodgy DI and compass!)
Climbing
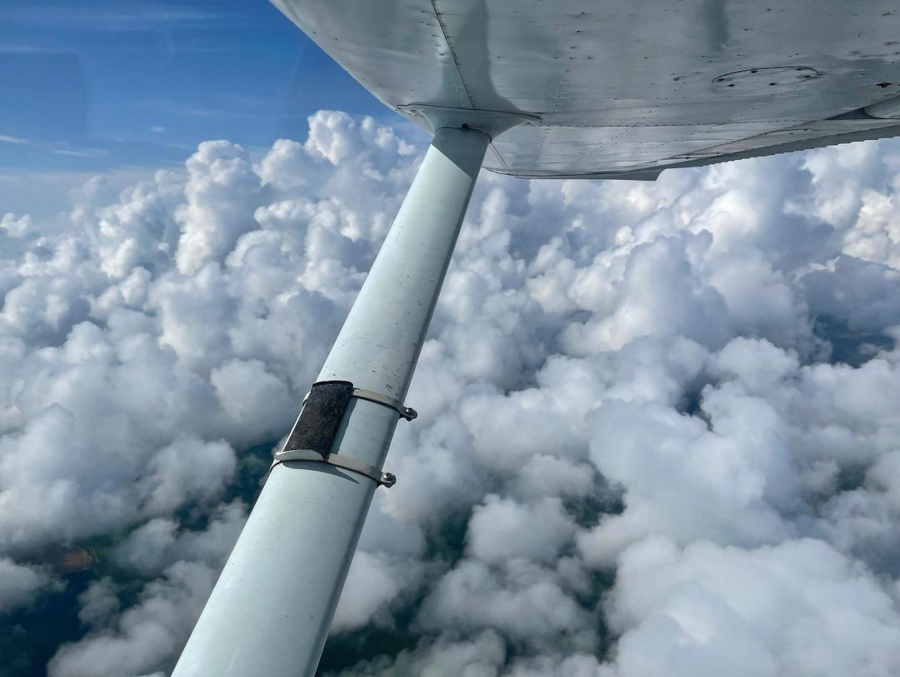
We left the circuit to the east to fly around the coast of Northumberland.
“Climb three thousand feet,” said my instructor. Then he added, “Vx climb.”
Airspeed is life, is a common phrase uttered by pilots and instructors, and all pilots have a healthy obsession with their airspeed. Certain airspeeds are important – such as stall speed, or the maximum speed at which you should operate the flaps. These are all called the ‘V-speeds’ because there is a special name for them, prefixed with V – for vitesse (French for speed).
As you might imagine, there is a comprehensive list of V-speeds on Wikipedia: https://en.wikipedia.org/wiki/V_speeds#Regulatory_V-speeds
A ‘Vx’ climb feels very weird, noisy and slow, but lets you climb the most vertical distance for the shortest lateral distance (over the ground) – known as the ‘best angle of climb’. This is very useful when the runway you’re taking off from has a large obstruction at the end of it!
At the briefing before the flight, my instructor taught me the correct sequence for climbing and descending. How hard can it be? I thought, but actually there is a science to it.
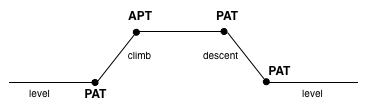
You always need to PAT to climb, descend or level off after a descent. At the top of a climb you APT (or sometimes ASPT):
Climb, descend or level off from a descent:
- P – Power, full power
- A – Attitude, select an attitude that gives you the appropriate airspeed
- T – Trim, reduce your workload by using the trim
And at the top of a climb:
- A – Attitude, select straight and level flight, which will allow your…
- (S) – Speed to increase to cruise speed
- P – Power, reduce power to cruise power when at cruise speed (2,450rpm in the C150)
- T – Trim, reduce your workload
PAT: I checked the carburettor heat was cold and pushed the throttle fully forward (Power), this has the benefit of raising the nose slightly automatically, which helped me pitch up to the correct climb Attitude to maintain Vx of 60kts. And once we were climbing steadily I Trimmed out the pressure on the controls.
A(S)PT: Before long we’d dragged the little Cessna up to 2,900ft and with 100ft to go to our assigned altitude I began to pitch the nose down to regain the datum Attitude of 1/3rd ground, and 2/3rds sky, which caused our (S)peed to increase as the throttle was still fully open. At our cruise speed of 100kts I reduced the Power back to cruise power, allowed the aircraft to settle straight and level and then Trimmed out the pressure on the controls.
What goes up…
“New altitude. Cruise descend to 2,000ft,” said the instructor.
The first step to descending is Power, but when reducing power below 2,000rpm you risk a serious problem developing inside the carburettor (‘carb’). Descending in this Cessna 150 is typically done at 1,700rpm.
The carb vapourises fuel so it can be mixed with air for efficient combustion. The air-fuel mixture is cooled before entering the cylinder by passing it through a venturi which reduces its pressure, and thus temperature, to further enhance combustion and power.
However, the temperature drop can be so severe when operating the engine at low power, or in cool moist air, for long periods (such as when descending) it can cause ice to form, which can block the fuel/air mixture getting into the engine and causing engine failure. To prevent carb icing you can open a valve that allows warm exhaust to circulate the carb. This does come at a slight cost, however, as it reduces engine performance but that doesn’t matter so much when you’re descending.
I pulled the carb heat out which opened the valve, then I reduced Power to 1,700rpm. When reducing power, aircraft have a tendency to nose-down, but I held the nose of the aircraft at the datum Attitude, to allow the speed to reduce to cruise descent speed (90kts) before pitching the nose forward to maintain 90kts with the engine at 1,700rpm. Naturally, I Trimmed out any pressure on the controls.
We did a few Vy climbs (best rate of climb – whereby you increase your altitude in the shortest time), and a glide descent, with power at full idle which requires a significant nose-down attitude to maintain 70 knots airspeed, before heading home.
Last Landing
I flew over the airfield at 1,500ft above airfield level (aal) and spotted the windsock flying almost due south. “Favouring a landing on runway 01,” I said to my instructor, who agreed.
I steered us to a path parallel with runway 01, to its right. Runway 01 has a left-hand circuit (you make left-hand turns) so the left side of the runway is the ‘live’ side. We were joining the pattern on the other side of the circuit, descending from 1,500ft to pattern height, 1,500ft aal.
For the last time, although I didn’t know it, I said, “Golf-Alpha-Whisky-Oscar-Tango, deadside descending, runway 01.”
A few minutes later I was crossing the threshold of runway 01 at 10 ft with throttle at idle, speed at 60 knots, perfect, but then I pulled the nose up too much at we floated down the runway. “Too much flare, push the nose down,” my instructor said calmly. I vaguely released some back pressure on the controls but with memories of my earlier take off, I couldn’t get my hands to trust the instruction.
We ran out of airspeed and the little plane dropped the last 5 feet out of the air with a bit of a bump.
<Fade to black>
The following day I got a phone call from my instructor with sad news, G-AWOT, the Cessna we were just flying the day before, had been in an accident and written off – thankfully the pilot, a student on a solo flight, was fine.
RIP G-AWOT, I hardly knew ye (and sorry about the crap landings).