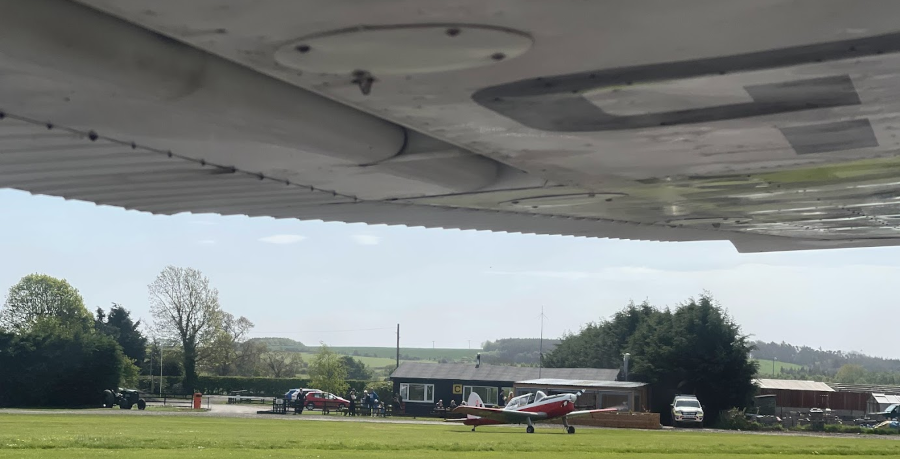
We briefed today’s lesson then headed out to the Cessna, past an attention-grabbing 1950-vintage RAF Chipmunk, which I snapped (above).
As last time, I started the engine and ran the ROSAMS checks and rolled forward to test the brakes before making a now-familiar radio call, “Golf-Alpha-Yankee-Romeo-Golf backtracking runway one-niner to Charlie”.
This time, though, we didn’t do a run-up at charlie, I made another radio call, “Golf-Alpha-Yankee-Romeo-Golf, backtracking runway 26 to Alpha”, and we backtracked another runway (the one we landed on at the end of Lesson 1).
We turned off the runway, spun 180 degrees to point the nose into the wind and applied the brakes while we did our run-up checks: engine power set to 1700rpm, magnetos, idle-cut-off. Incidentally, while we were taking our time doing this we caused a bit of a traffic jam and a Jabiru light sport aircraft radioed us to ask when we would be done. My instructor said he could jump the queue and we returned our attention to the checklist.
Flaps
The flaps are panels that drop down at the back of the wing to give more lift at slow speeds. They’re very noticeable during take off and landing on the airliners that take you on holiday. On the Cessna 172 they’re hinged flaps, and on our Cessna they were electrically operated. 10 degrees is a standard flap setting for take off and to lower them this much you need to hold the flap button down for 3 seconds (pilots are taught to count as “one-one-thousand, two-one-thousand, three-one-thousand”). For 20 degrees of flap, you count to 6, and so on. This is important info because today’s lesson is all about flaps!
I taxied onto the runway, lined up, and pushed the throttle fully open. Using the rudder pedals I feel like I meandered slightly less down the runway this time, but it could also have just been calmer or more straight-down-the-runway wind. I checked my ATR – Airspeed rising, temperatures and pressures in the green bands, and RPM stable.
The airspeed gauge quickly rose to 60 knots and I applied a tiny bit of back pressure on the yoke to encourage the aircraft into the air, to which she eagerly complied, requiring forward pressure on the yoke to stop the nose rising uncontrolled, which would result in a stall and that’s not good so low to the ground!
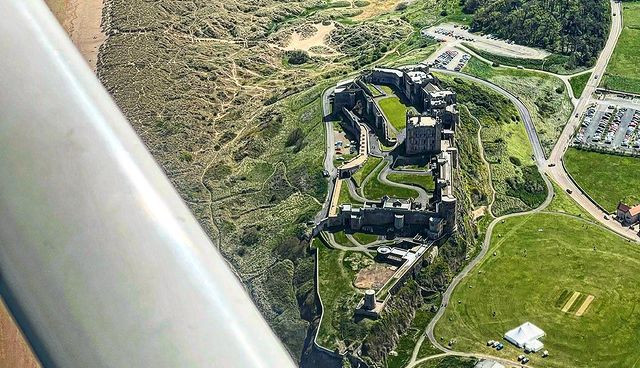
We climbed out, raising the flaps at 300ft above the airfield level (‘aal’), turned onto crosswind at 500ft aal, and then finally onto downwind at 1,000ft, where we levelled off, radioed the airfield that we were leaving the circuit and headed east towards the coast to learn about how to use flaps properly!
As briefed, we followed the ROI checklist for lowering and raising the flaps:
- R – Restrictions – to lower the flaps, your airspeed must be within the white arc on the airspeed indicator, to raise your flaps you must be above 300ft, above 65 knots and NOT descending

- O – Operation – self explanatory, operate the flaps lever
- I – Indication – check that the flaps are down or up as expected (in our aircraft we don’t have a flap position indicator so we simply look out the windows!)
Changing Datum
One thing to note when flying with flaps down is how your datum attitude changes. We discussed the datum attitude in the first lesson.
With flaps down, you get increased lift at the same airspeed, so the datum for straight and level flight is 1/2 sky, 1/2 ground – you feel like you’re pointing towards the ground but you’re not descending at all. It takes some getting used to!
Newton’s Third Law (Reprise)
As you know, every action has an equal and opposite reaction and operating the flaps is no different.
With increased lift from lowering the flaps, the nose will try to climb (called ‘ballooning’), requiring you to counter-act with forward pressure on the control column.
Raising the flaps has the reverse effect, causing the nose to drop and the aircraft to want to descend (or ‘sink’), requiring some back pressure on the controls.
It quickly becomes natural but at first it’s tricky to get used to and I have to say it was not smooth on this, my second lesson.
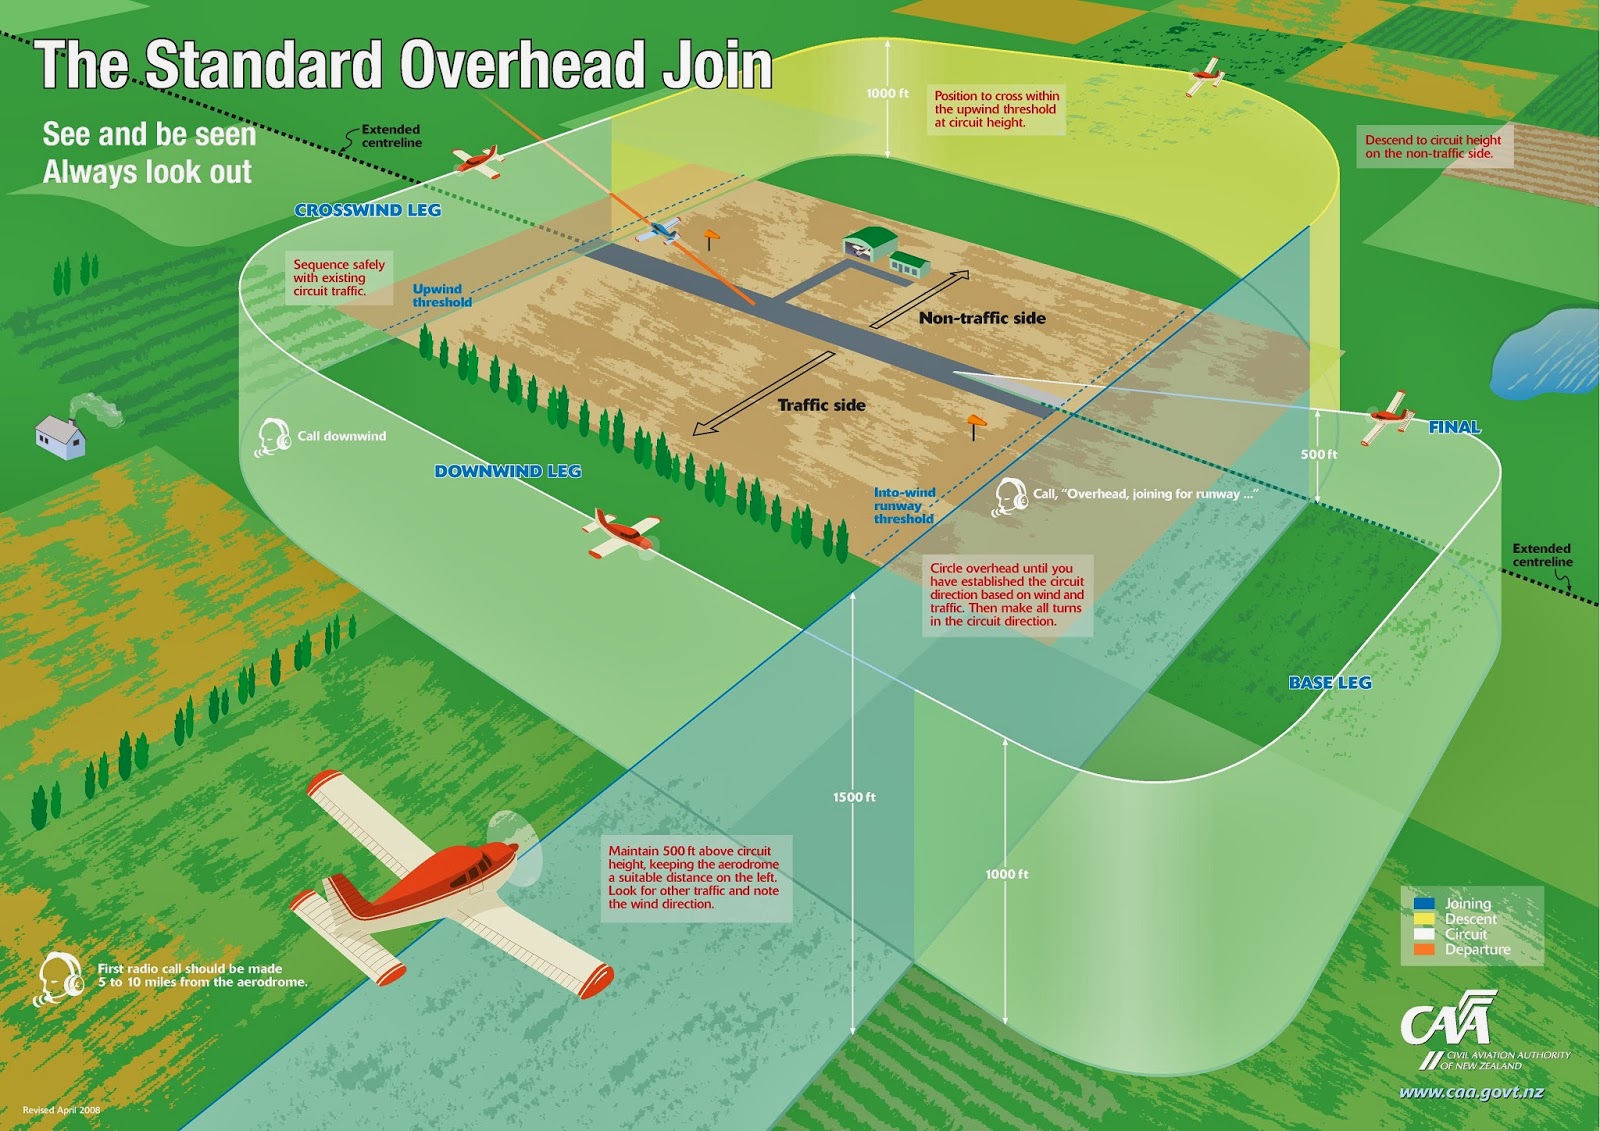
Overhead Join
The overhead join is a manoeuvre used to achieve two things:
- Identify the landing runway by looking at the aircraft on the runways and the wind sock (some airfields have a ‘signals area’ which identify the landing runway using – you’ve guessed it – special signals)
- Integrate safely with the traffic pattern around an airfield.
At my instructor’s direction I flew over the airfield and spotted the windsock flying to the south, meaning an approach from the south would be into the wind (the ideal landing condition). As the airfield has a runway 01 (010 degrees magnetic heading) this northerly runway would be ideal and we turned to fly ‘deadside’ runway 01 while descending to pattern altitude (1,000ft aal).
Then another aircraft ruined our plans.
“<Callsign> departing runway 26, remaining in the pattern,” said a voice on the radio.
My instructor informed me that aircraft in the pattern decided which runway is in use, so we aborted our deadside descent, climbed back to overhead join altitude (1,500ft at our airfield, often 2,000ft) and joined the deadside for runway 26 instead, meaning we would be getting a slight crosswind.
Approach
Like in the first lesson, my instructor allowed me to fly the approach to the runway, this time I knew when to lower the flaps myself and performed the ROI checks.
“Keep your speed at 70 knots, attitude controls speed, throttle controls descent rate,” said my instructor. “Your new datum is the runway numbers so head towards those.”
I kept the airspeed pinned to 70 and pointed the nose at the runway threshold, controlling the descent rate with small movements on the throttle. I drifted slightly wide, but corrected, waiting for my instructor to take the controls and land.
The ground came up to meet us. “Throttle to idle. Back pressure back pressure back pressure”, said my instructor, notably not taking over the controls.
I pulled the throttle back to idle, pulled the control column towards me and the nose lifted so I couldn’t see the runway anymore. “Hold it there,” the instructor said as the white painted lines down the sides of the runway entered my peripheral vision.
I was starting to get concerned that he had forgotten to take over and do the landing.
He did know this was only my second lesson didn’t he?
The wheels touched the ground.
I lowered the nose wheel to the ground gently. We were on the centre line!
“I have control,” he said, “well done, you just landed an aircraft!”
Afterwards he reassured me he didn’t take over at this point because I’d done anything wrong, more that we hadn’t briefed how to land and most students stomp on the brakes after landing which isn’t necessary as the runways are long enough to let the aircraft slow naturally from friction, this saves the brakes.
A quick after-landing checklist, taxi to parking and I floated home on a cloud of absolute joy.
I had just landed a real life plane!