Well! It’s been 7 months since my last lesson due to Long COVID keeping my medical certificate (which is required to go solo) just out of reach, but I’m back armed with a LAPL medical certificate and back in some 1960s vintage flying metal.
LAPL? Medical certificates? Let me explain…
LAPL, PPL, WTF?
In the UK there are two main types of private pilot license, the Private Pilot’s License (PPL) which is an internationally recognised, ICAO (International Civil Aviation Authority, the international standardisation body for civilian flying) compliant pilot license. The PPL allows holders to fly aircraft they’re type-rated and current on (I’ll explain these terms in a moment) pretty much anywhere in the world. A UK PPL holder can rent a Cessna in the USA whilst on holiday, for example.
There is also a UK-only license called the Light Aircraft Pilot License or LAPL. It used to be called the National Private Pilot’s License or NPPL. The LAPL is not ICAO compliant and is not recognised outside of the UK. The reason it exists is to provide a simpler, easier way for wannabe pilots to fly within the UK. It has some benefits but it also has some restrictions.
| LAPL | PPL | |
| Region valid | UK Only | Worldwide |
| License valid for | Lifetime | Lifetime |
| Medical Required | LAPL Medical (valid only in UK, if you can drive a car you can pretty much get a LAPL medical certificate.) See: CAA website | Class 2 Medical (internationally recognised, strict qualification criteria) See: CAA website |
| Max Aircraft Take Off Weight | 2,000kg (This allows you to fly most common light aircraft including Cessnas, Pipers and even the Cirrus models) | 5,750kg |
| Can fly solo | Yes | Yes |
| Max number of passengers | 3 | 19 |
| Minimum Hours Flying Required for License | 30 hours including: at least 6 hours solo 3 hours cross-country at least 1 cross country of 80 nautical miles with a landing at another airfield | 45 hours including: at least 10 hours solo of which: 5 hours solo cross country 1 cross country of at least 150 nautical miles with landings at 2 airfields |
| Can add night rating? | Yes | Yes |
| Can add aerobatic rating? | Yes | Yes |
| Can add tailwheel rating? | Yes | Yes |
| Can add instrument rating? | No | Yes |
| Can add multi-engine rating? | No | Yes |
| Can add commercial pilot license (CPL)? | No | Yes |
So right now on the LAPL medical certificate I can get back to solo quality and fly my first solo circuit, and hopefully by then I’ll have qualified for the Class 2 medical certificate and can work my way towards the Private Pilot’s License (PPL).
The LAPL is a perfectly fine license if you’re only going to fly in visual flight conditions in the UK but my main driver for wanting to do the full PPL is so I can do the instrument rating, which is a completely different and more technical kind of flying.
Revision and a New Instructor!
It’s been 7 months since my last lesson and my previous (amazing) instructor had moved on, taking a job flying regional jets for a Scottish airline, so I met my new instructor who didn’t know me from Adam. He briefed me on a standard revision lesson – turns, climbs, descending, turning while climbing and descending, all the basics.
With less than 10 hours of flight time in my logbook that was fine, to start with, but I hoped to impress him once in the air because my previous instructor had been so good and we were ahead of where we should be in the PPL syllabus.
“Have you done the internal checks yet?” the instructor asked.
“Yeah, I usually do internal and external checks,” I replied, eager to get out to the plane.
“I’ll see you out there, then,” the instructor smiled.
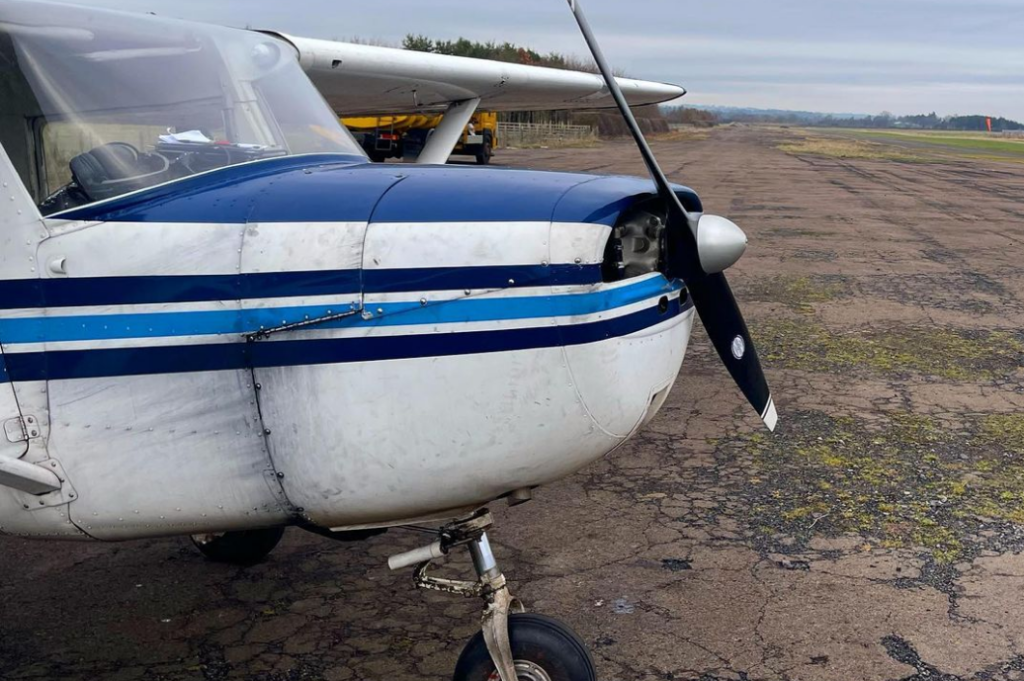
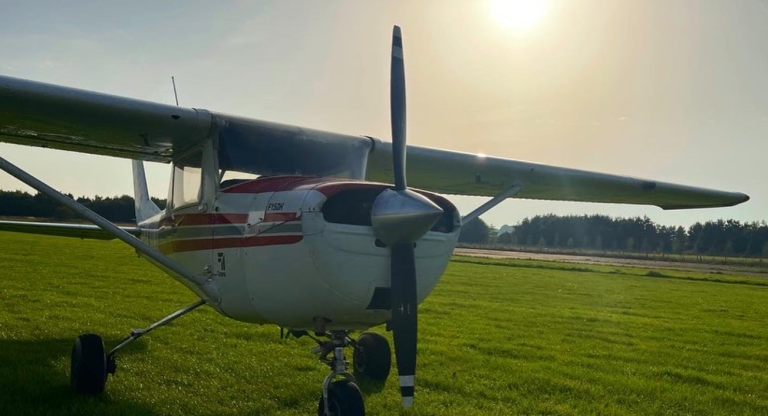
I walked out the beautiful (if a little dirty) 1965 Cessna 150E, built prior to Cesssna redesigning the vertical stabiliser (the ‘fin’) to be more swept back and aerodynamic.

I ran through the internal and external checks – all the lights, electrics, structural and flight control systems were fine. Just before I was ready to start the engine, the instructor hopped in.
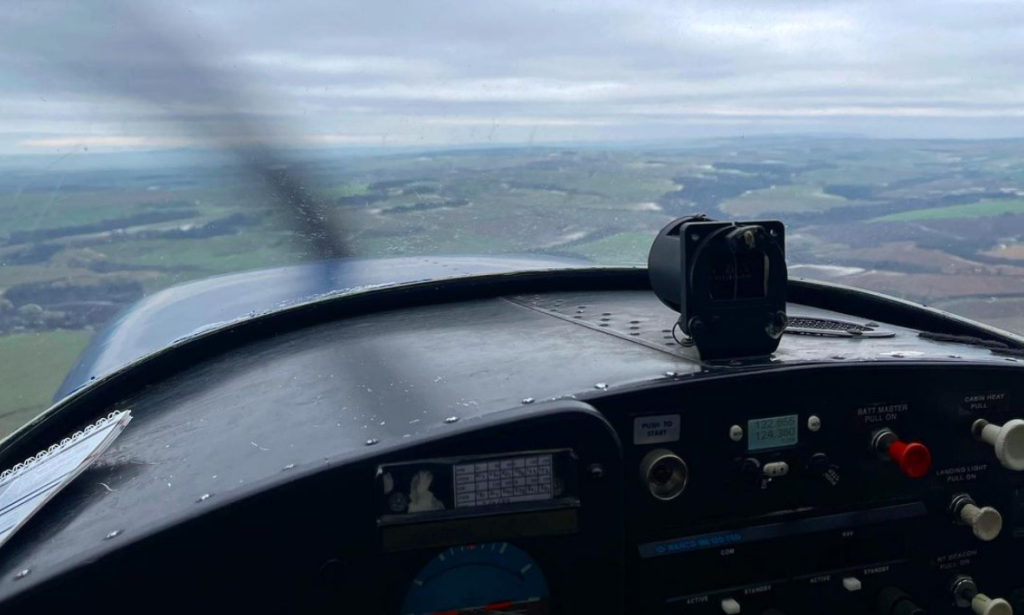
“Clear prop!” I shouted out the door, turned the key – which operated the magnetos – to ‘both’, then pressed the starter motor button. The little 100hp engine spun into life, turning the new-looking propeller with it. It caught quickly and I took my finger off the starter button and ran the ROSAMS checks. The aircraft felt like new – everything was tight, the flight controls were well-rigged and the classic 1960s push/pull switches were clean and undamaged. I was warming to this thing.
The instructor said he would handle the radios – much to my dismay as radio is usually every PPL student’s greatest difficulty and I am no different! – so he broadcast our intentions to move onto the active runway to backtrack it while I performed a BRI check – brakes, rudders, instruments. Everything was spot on.
We backtracked the runway and stopped at holding point C (charlie) to do our run-up checks – power, brakes holding, carb heat, magnetos, instruments, etc. Finally, we radioed that we were pulling into the runway, which I did, looking around at the approach paths as I span the plane 180 degrees.
“Golf Alpha Sierra Zulu Uniform taking off runway 19er,” said the instructor.
Unlike the previous instructor who taught me to slide my heels to the floor (keeping toes clear of the toe-brakes), advance the throttle and perform the ATR check (airspeed, temperatures and pressures (T&Ps), engine RPMs stable) as we rolled, my new instructor asked me to hold the aircraft on the brakes at full power while we checked the T&Ps and RPMs. It was a strange, loud and very vibrating experience, but it made more sense, with one exception – having to go from toe brakes on full to heels on the floor and start applying right-rudder was something I’d never done before, but it wasn’t too bad and in fact the 150E needed less right rudder than I can remember the later models needing.
At 55 knots I gently pulled back on the controls and we lifted into the air. “Pitch for a 60 knot climb,” said the instructor. I pulled back until the nose was pointing high and the speed reduced to 60 knots (about 70mph). At 300ft above the ground I raised the flaps, which were manual, operated by a handbrake style lever in between the two seats.
Up, Down, Left, Right, A, B, Select, Start
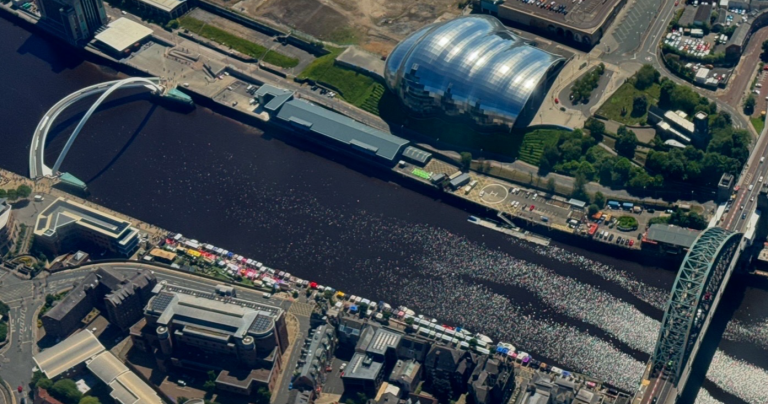
We headed north east towards the Northumberland fishing village of Seahouses before the instructor asked me to turn 360 degrees left, then right. I knew he would be looking for three things:
- Maintaining a constant bank
- Maintaining altitude while turning
- Maintaining coordination (keeping the ball on the turn-coordinator centred)
The little 58-year-old 150 made it pretty easy – she’s such a well-balanced aircraft. With only a tiny bit of back-pressure on the controls I held 2,000ft altitude as we span around in both directions, a breath of rudder to keep the ball centred.
This kite flies beautifully. I was really enjoying being back in the skies now. I rolled out on due north as requested using another touch of opposite rudder to arrest the turn.
“Very nice.” Next my instructor asked me to descend to 1,000ft at 60 knots (best glide speed for this model).
I pulled out the carb heat, then slowly reduced the throttle to idle, holding the nose on the horizon while the speed bled off. As we got to 60 knots on the airspeed indicator I let the controls move forward and the nose lowered. Once the aircraft was in a steady descent at 60kts I trimmed out the pressure on the controls and took my hands off to show she was in-trim and stable.
I knew what the instructor would be looking for as we levelled off at 1,000ft:
- anticipate levelling off in good time
- apply power to cruise power (2,350rpm)
- raise nose to cruise attitude
- trim out any control pressure
I ran through this list step by step, levelling out slightly under 1,000ft but correcting quickly. “Nice,” said the instructor. “You’re doing better than I expected,” he said.
Next he asked me to climb to 2,000ft while turning 270 degrees and level off heading west. I ran through the PAT climb sequence – (P)ower to full, (A)ttitude – pitch to climb at 60 knots which is Vy – rate of best climb – on this aircraft, and finally (T)rim out the control pressure. We turned to 270 degrees (West) three quarters of the way through our climb which made sense as our climb rate was 500ft/minute and our turn rate was 360 degrees in 2 minutes (a rate 2 turn). I dabbed the left rudder to hold the nose on 270deg while I levelled the wings and held the nose up to climb the remainder to 2,000ft.
At 2,000ft I ran the ASPT sequence: (A)ttitude to standard datum, (S)peed to cruise speed, then (P)ower to cruise power (2,350rpm) and finally (T)rim.
The instructor looked happy. “Very good. Have you done any circuits yet?”
I nodded and said I’d done about a dozen.
“Let’s head back and do some more of those then!”
We turned south and sailed past RAF Boulmer at 2,000ft.

Descending Dead Side
The instructor radioed to say we were 8 miles north east and we would be joining overhead. Before long, the airfield came into view and we could see the big, bright, orange windsock was still pointing almost due north, meaning the wind was from the south.
We usually opt for the runway that would allow us to land into the wind as much as possible and the airfield had four runways:
- 01 – heading roughly 10deg or almost due north
- 07 – heading roughly 70deg or east-north-east on the compass
- 19 – heading roughly 190deg or almost south
- 25 – heading roughly 250deg or west-south-west on the compass
Wind from the south meant runway 19 would be our landing runway and when we got to the airfield I started to descend from overhead join height (1,500ft) to pattern height (1,000ft) on the dead side of the runway.
Note I’m saying height here and not altitude as we are now flying on QFE, or height-above-the-airfield. See here for more on altitude (QNH) vs height (QFE) – and a deeply embarrassing take off!
Levelling off at 1,000ft, I then flew parallel to the extended centreline of the runway for noise abatement. A lot of general aviation flying is done out in the country where rich people live, and circuit directions and patterns are generally designed around keeping the buzzing noise of little 100hp engines away from the wealthy. Once we’d passed a golf course, we turned west, then north onto downwind. 2/3rds of the way along the runway we were about to land on we started to configure the almost-sexagenarian aircraft.
Before landing checklist
- Throttle back to 1,500rpm
- Hold the nose up and allow the speed to bleed off to the white arc
- One speed in the white arc, lower flaps to 20 degrees using the funky handbrake lever
- Allow speed to decrease to 60 knots and lower the nose to maintain this airspeed
Once configured, stable and in-trim, I turned onto base leg, waiting for the runway to appear in the right window, which it quickly did.
“OK, follow me through on the controls,” said the instructor, “I have control.”
“You have control,” I instinctively said.
The instructor took us down to the runway and we landed with a bump, once down, he advanced the throttle to full power and within a few seconds we were airborne again and climbing.
“You have control,” he said. “Your turn to land.”
“I have control.”
I flew us around the circuit and on the downwind leg the instructor announced on the radio this would be a touch-and-go, so I knew to expect him to ask me to also go to full power and take off again once on the ground.
I configured for landing: power, flaps, speed, descent at 60kts, before turning onto final. “Golf Alpha Sierra Zulu Uniform final runway 19er”.
Landing 1
I didn’t expect to have any major problems landing even after 7 months. My previous instructor taught me well and I’d tried to keep sharp with flight sim at home.
However, even with a light wind I couldn’t quite get the plane lined up cleanly as I used to, although the descent rate was about right. As we approached short final I ran off the TRAP memory checklist:
- Toes – clear of the brakes
- Runway – clear
- Attitude – on profile
- Permission to land – our discretion at an uncontrolled field
Checklist complete!
And at 100ft above the ground we were nicely lined up. I reduced the power to idle and then the fun began.
For some reason, despite having already done it several times already on this flight, I didn’t anticipate just how much the aircraft would lose altitude with power at idle. I gently pulled back on the controls waiting to enter ground effect, which is a phenomenon whereby a ‘cushion’ of air is created under the wings when close to the ground, but this cushion effect never really came and we started sinking faster than I expected. I started to pull back more on the controls but it wasn’t quite enough to arrest the descent. The instructor grabbed the middle of the controls and added a bit more back pressure to allow us to land without a big bump.
I’ll admit, I was very disappointed in myself. Aside from the landing on my very first lesson, I’d never needed the instructor to intervene at any point during a lesson.
I used the rudder pedals to keep straight on the runway, then advanced the throttle to full power whilst adding right-rudder and taking us back into the air.
Landing 2
Once more around the circuit, I configured, descended and lined up with the runway on final.
This time things went a bit better, and at 100ft I added more nose-up attitude whilst reducing power and we touched down firmly but not too hard on the centreline.
Not great, not terrible.
Using aerodynamic braking (i.e. pulling back on the controls to stick the big elevator panels into the airflow to help slow the plane down) at first I switched to gently pressing the toe brakes. Once slowed down enough I pulled the little Cessna off the runway onto the apron and parked next to a tied-down, privately owned C150.
I performed the after-landing checklist, running the power at 1800rpm for 30 seconds whilst shutting down the non-essential electrics and performing final magneto tests.
Finally, I pulled the mixture handle all the way out and, after a moment as the fuel lines emptied, the engine spun to a stop. First lesson back was complete.
